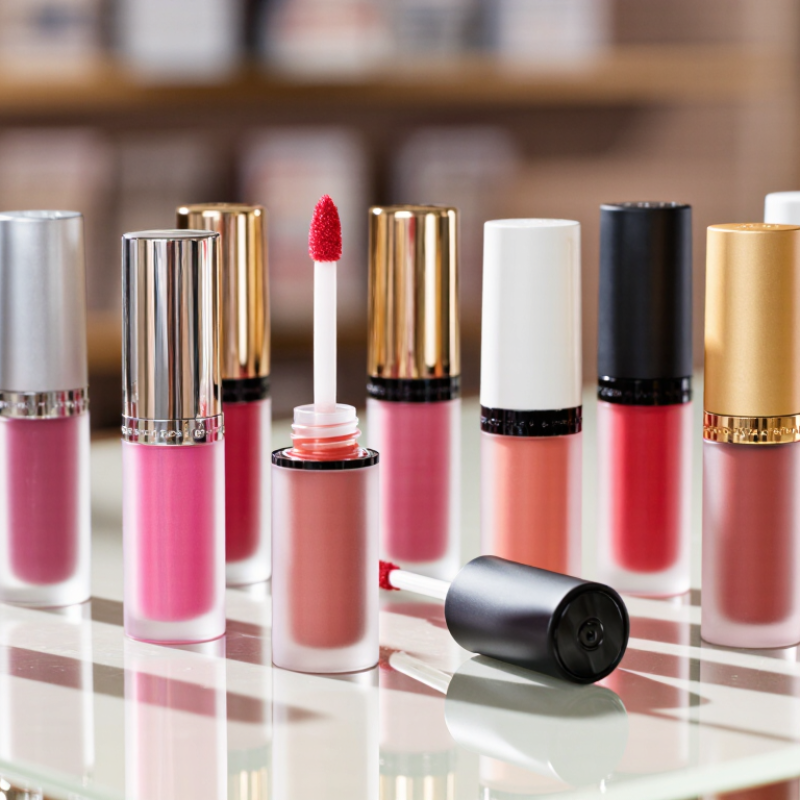
| 1 | Match the Tube to the Product Formula | Define viscosity, oil content, pigments, glitter, and active ingredients. | Low-viscosity gloss, high-viscosity gloss, shimmer gloss, or plumping formula. | The formula affects dispensing, compatibility, leakage risk, and applicator performance. | Complete a formula-to-package compatibility test. |
| 2 | Choose the Appropriate Fill Volume | Set the net contents according to usage occasion and target price. | Common retail sizes include 3 mL, 4.5 mL, 5 mL, 6 mL, and 8 mL. | Volume influences portability, product cost, shelf appearance, and consumer value perception. | Confirm nominal volume, fill tolerance, and usable product volume. |
| 3 | Select a Suitable Tube Material | Specify the container and component materials required for the formula and positioning. | Plastic tubes commonly use materials such as PETG, polypropylene, or polyethylene; caps may use ABS or polypropylene. | Material selection affects clarity, chemical resistance, strength, decoration, and recyclability. | Request material declarations and conduct stability testing. |
| 4 | Evaluate the Applicator Design | Define coverage, precision, product pickup, and application feel. | Doe-foot applicators may use angled, paddle, pointed, or flexible tip designs. | The applicator directly affects application speed, edge definition, comfort, and dosage. | Test pickup, release, bend resistance, and application consistency. |
| 5 | Check the Wiper System | Define the desired product dosage and the level of residue left on the applicator. | A precision wiper should remove excess formula while allowing smooth applicator withdrawal. | An unsuitable wiper can cause over-dosing, difficult withdrawal, messiness, or excessive waste. | Measure withdrawal force and visually inspect dosage after repeated use. |
| 6 | Prioritize Leak and Seal Performance | Set requirements for closure fit, threaded engagement, and transport resistance. | A properly fitted cap, wiper, and neck finish should prevent visible leakage during normal handling. | Leakage damages labels, cartons, consumer trust, and logistics performance. | Conduct inversion, vibration, temperature-cycle, and drop testing. |
| 7 | Define the Decoration Method | Choose the required appearance, artwork coverage, color system, and finish. | Options may include screen printing, hot stamping, labeling, metallized effects, matte, or glossy finishes. | Decoration influences brand recognition, minimum order quantities, cost, and durability. | Approve a physical decorated sample before mass production. |
| 8 | Confirm Label and Artwork Space | Define the printable area and mandatory product information. | Allow space for product name, net contents, ingredients, batch information, warnings, and responsible-party details where required. | Limited surface area can reduce legibility and create regulatory labeling problems. | Create a dimensioned artwork template and verify text readability. |
| 9 | Assess Sustainability Requirements | Define recycled content, material reduction, recyclability, and packaging separation goals. | Use fewer material types where practical and avoid unnecessary secondary packaging. | Packaging choices affect environmental claims, disposal options, and customer expectations. | Request component material data and substantiate environmental claims. |
| 10 | Balance Quality, MOQ, and Total Cost | Set the acceptable unit cost, order quantity, lead time, and quality standard. | Compare tooling, decoration, filling, inspection, freight, and secondary packaging costs. | A low unit price may not represent the lowest total cost after tooling, defects, freight, and rework. | Request a complete quotation and approve pre-production samples. |