| Vehicle Identification | Vehicle year, manufacturer, model, engine size, fuel type, and body configuration. | Use all vehicle details when searching a catalog. The same model name may use different filters across production years or engine variants. | Example
Two vehicles with the same model name may require different filters if one uses a 1.5-liter engine and the other uses a 2.0-liter engine. |
| Owner's Manual and Service Catalog | Original equipment part number, filter specification, and replacement instructions. | Treat the owner's manual and a reliable vehicle-part catalog as the primary references. Confirm that the catalog listing matches the exact engine application. | Best practice
Compare the part number, vehicle application, and filter dimensions before purchasing. |
| Physical Dimensions | Length, width, height or thickness, sealing edge, pleat orientation, and locating tabs. | A correct filter should sit flat in the airbox, use the entire sealing surface, and allow the airbox cover to close without force. | Warning sign
A filter that rocks, leaves gaps, or requires bending is not a correct fit, even if it looks similar. |
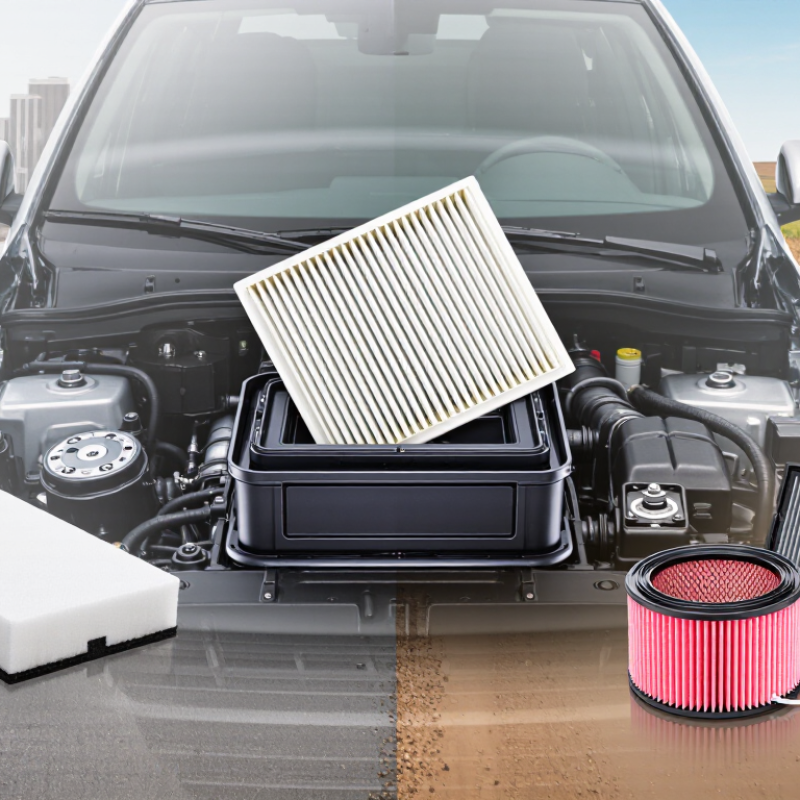
| Filter Shape | Panel, cylindrical, cone-shaped, or other vehicle-specific design. | Replace the filter with the same design unless the vehicle manufacturer specifies an approved conversion. Shape affects sealing and airflow through the airbox. | Common type
Many passenger cars use a rectangular pleated panel filter, while some intake systems use a cylindrical filter. |
| Filter Media | Paper or synthetic dry media, washable media, and the presence of a complete perimeter seal. | Choose a media type approved for the vehicle. Dry filters are generally replaced when dirty; reusable filters must be cleaned and serviced according to their instructions. | Key requirement
The media must be firmly attached to the frame, with no tears, loose edges, or open gaps. |
| Sealing Quality | Flexible gasket or sealing rim around the full perimeter. | The seal prevents unfiltered air from bypassing the filter. Check the airbox for dirt trails outside the dirty side of the filter, which can indicate leakage. | Inspection
A continuous, even gasket contact is required around the complete airbox opening. |
| Airflow Direction | Airflow arrow printed on the filter, if provided, and the direction of air movement through the housing. | Install the filter according to the arrow or the vehicle service instructions. Incorrect orientation may reduce sealing or interfere with the airbox cover. | Installation
Follow the marked airflow direction from the air intake side toward the engine side. |
| Driving Environment | Dust, construction areas, unpaved roads, heavy traffic, pollen, humidity, and frequent short trips. | Severe dust or high-pollen conditions can load a filter faster than normal use. Inspect it more frequently when driving in such environments. | Severe use
Vehicles frequently driven on unpaved roads may need inspection well before the normal service interval. |
| Replacement Interval | Vehicle maintenance schedule, mileage, time, and actual filter condition. | Follow the vehicle maintenance schedule, but inspect earlier if the filter is visibly clogged, damaged, damp, or heavily contaminated. Intervals vary by vehicle and operating conditions. | Important
Do not rely only on mileage; a clean-looking filter should still be checked for damage and correct sealing. |
| Visible Condition | Heavy dust, leaves, oil contamination, moisture, collapsed pleats, tears, or deformation. | Replace a filter that is damaged, oil-soaked, wet, deformed, or unable to seal. Do not reinstall a filter with torn media or a deteriorated gasket. | Replace immediately
Visible holes, separated pleats, or a damaged sealing rim can allow abrasive particles into the engine intake. |
| Engine Performance Symptoms | Reduced acceleration, restricted airflow, unusual intake noise, poor fuel economy, or an illuminated warning lamp. | A clogged filter may restrict airflow, but these symptoms can also result from other faults. Inspect the filter first, then seek diagnostic testing if the issue remains. | Diagnostic caution
Replacing the filter alone may not solve a problem caused by a sensor, intake leak, ignition fault, or fuel-system issue. |
| Airbox Compatibility | Correct cover fit, retaining clips, fasteners, intake snorkel, and sensor clearance. | The filter should not obstruct the airbox cover, mass-airflow sensor, breather connection, or intake duct. All fasteners should close normally after installation. | Final check
After installation, confirm that the airbox is fully closed and that no part of the filter is pinched. |
| Quality and Certification Information | Clear packaging information, traceability, manufacturing details, and applicable test or quality standards. | Prefer a filter with clear application data and consistent construction. Avoid products with missing specifications, poor sealing materials, or unclear fitment information. | Purchase check
Packaging should identify the applicable vehicle or part reference and provide installation or service information when required. |